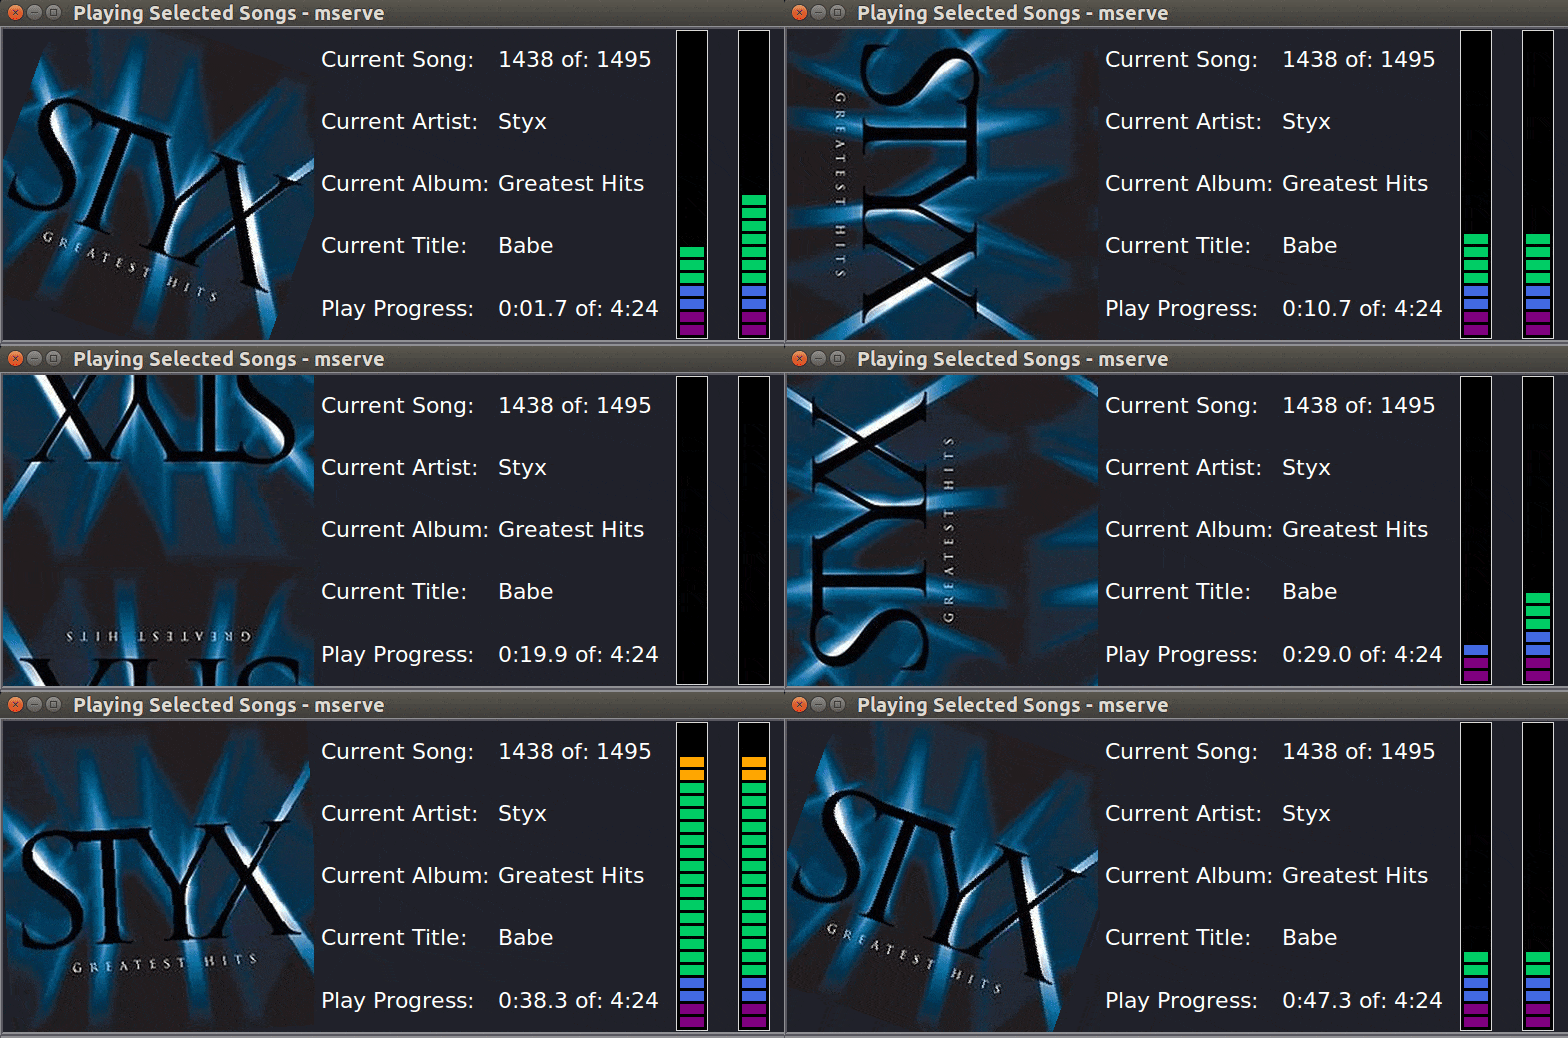
Introduction
Welcome to Pippim’s website with free open source applications and no distracting ads.
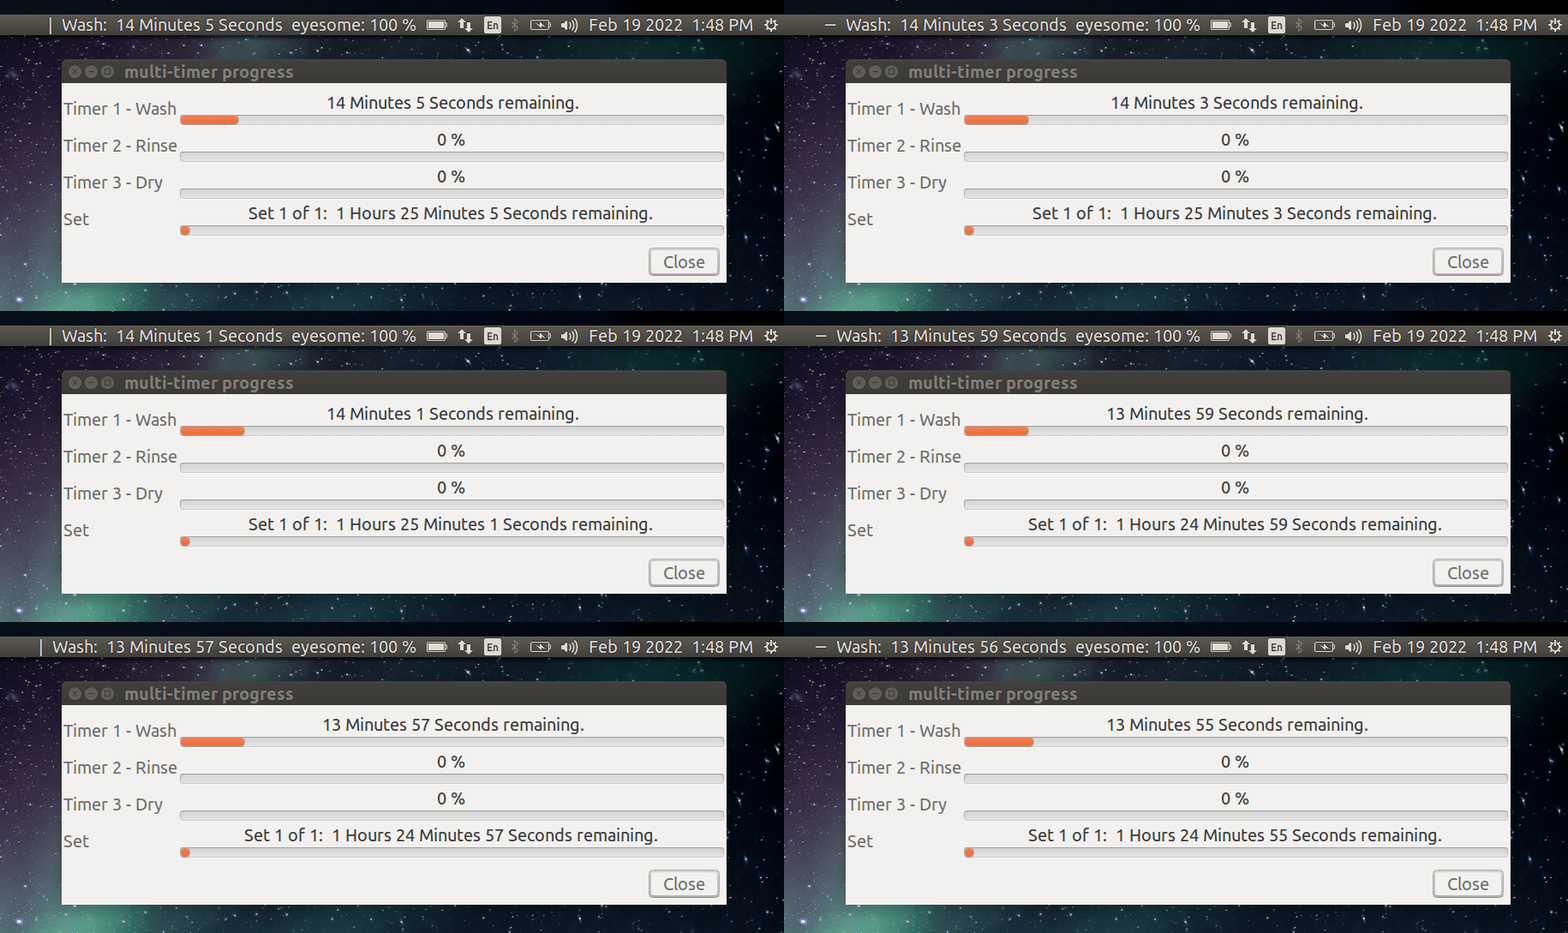
Tim-ta runs inside your browser. Use it for project timers:
◆ Doing Laundry
◆ Repetitive Workout Sets
◆ Coffee and Lunch Breaks
Pick from stock alarm sounds and upload your own sounds. Backup your Tim-ta projects and transfer them to other browsers, other devices or other users. Import projects from other Users or Devices.
HomA - Home Automation searches your LAN, WiFi and Bluetooth devices:
◆ Turn televisions off and on
◆ Turn lights off and on
◆ Breathe colors for LED light strips
◆ Turn everything off during suspend
◆ Turn everything on during resume
Written in easy to understand Python language. All source code is free.
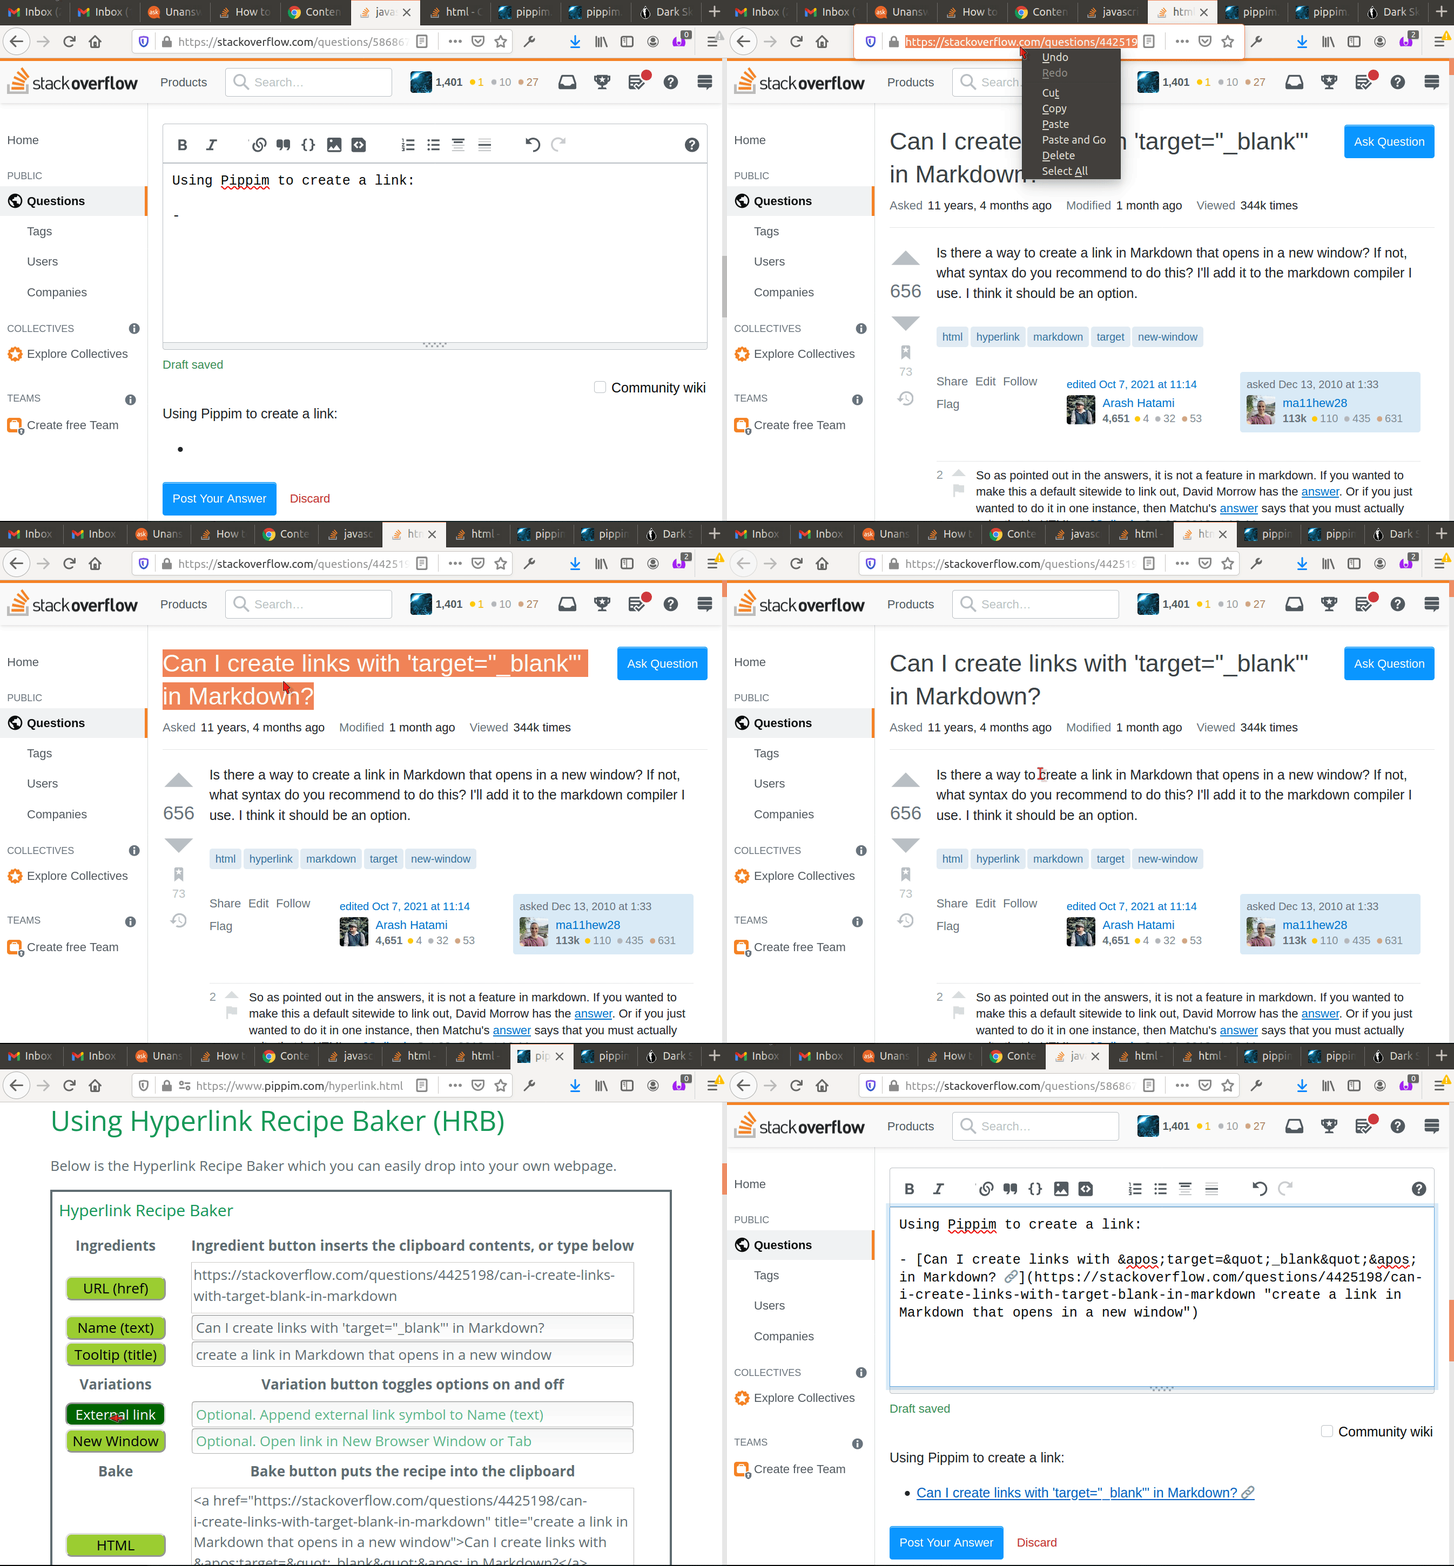
Hyperlink Recipe Baker is an invaluable tool for those who write articles about the internet, technical documents or sales literature that reference other articles.
Convert your popular Stack Exchange Posts to your own website with additional features like; Table of Contents, Section Navigation buttons, Copy code blocks to clipboard and Show summary statistics. You can see the conversion results by clicking the ✅ Answers button above.
A different kind of site search engine greets you. Others operate at an average speed of 2.5 MB/s (Megabytes per second) over the internet. This one runs at the speed of RAM; about 19,200 MB/s!
There are no ads on Pippim. You can’t buy Pippim a coffee. No third party websites are used to deliver Pippim website content. It is impossible for Pippim to collect your data and store it on the Pippim website because it is hosted by GitHub.
Mobile Phone Support
The video on the left shows what the Pippim Website looks like on a typical mobile phone screen. The recording was made on a desktop with the browser window made slim and tall (675 x 1259).
Color Theme Button
The top-left of every page has the 🌟 (“Sun”) / 🌙 (“Crescent Moon”) toggle button. Clicking the toggle button changes the website color theme (for all Pippim browser windows) and briefly spins the icon. Click the “Sun” to set the light color for using your phone outside. Click the “Crescent Moon” to set the dark color for using your phone inside.
The Color Theme icon is always in the same place on all webpages. It always works the same way on mobile phones and desktop systems.
Hamburger Menu Button
The ☰ (Hamburger Menu) button reveals Page Header Buttons that will not fit horizontally on a phone screen. A dropdown menu appears with buttons arranged vertically instead.
Search Button
The 🔍 (Magnifying Glass) button opens a proprietary, Pippim engineered, search engine. Free of third-party search engine providers! Search results are point-weighted with words appearing in the Page Titles and Headers getting more weight than the same word appearing in the Page Body.
To reduce false-positives, some words are intentionally removed such as “the”, “error”, etc.
Multiple search words are based on “or” tests. Most search engines use the “and” tests.
Lightning Bolt Button
The ⚡ (Lightning Bolt) button opens a proprietary, Pippim engineered, quick jump window. The quick jump window allows you to quickly navigate within a web page. The lightning bolt button appears whenever the page is scrolled. It stays in the same place for a few seconds after scrolling stops.
Navigation Buttons
This section discusses the Page Navigation Buttons that appear on the top of each page. Then we will discuss the Section Navigation Buttons that can appear at the top of major sections.
Page Navigation Buttons
The top of each page contains a search bar and navigation buttons to take you to other pages:
-
⌂ Home brings you to this page.
-
❓ About discusses everything you want to know about Pippim. Still have questions? Just email.
-
✅ Answers to questions people have about computers. As of January 11, 2026, there have been over 76.4 million views of the questions where Pippim has posted up-voted answers.
-
💻 Programs are applications Pippim created to make your life easier.
-
📧 Email lets you send an email to Pippim.
Section Navigation Buttons
The top of major sections contain navigation buttons to take you to other sections:
-
Top - Displays the top of the page
-
ToS - Displays the top of the previous section
-
ToC - Displays the Table of Contents
-
Skip - Skips the section and displays the next section
Get in Touch
There are many ways to contact Pippim. The conventional way is via email. Another way is commenting on Stack Exchange Posts or GitHub Repos.
The Conventional Way of Getting in Touch
Get in touch with Pippim by sending an email.
Leave a Comment / Question at The Source
Leaving a comment or question at the source such as Stack Exchange answer or GitHub Repo saves you from specifying what your communication is referring to.
Stack Exchange Answers (Ask Ubuntu)

You can leave a comment or question where the Stack Exchange
answer appears. Each answer on this website here has a direct
link to the original answer on Stack Exchange.
GitHub Repos

For Pippim programs on GitHub Repos, you can go directly
to the repository and post a new issue. Issues can be bug reports,
questions, requests for new features or enhancements to existing
functions.

GitHub Pages
The Pippim website is hosted on GitHub Pages.
You can download (or simply view) the Pippim
website markdown files. For example, index.md is the markdown
file for the page you are reading now and available
here ⧉ 🔗.
Get your own website up and running in a weekend by picking from a collection of website designs called themes. Then type your information into markdown files.
GitHub Pages is free. Change your website from a MAC, a PC running Windows or Linux, and even a smart phone.
TL;DR
“TL;DR” stands for “Too Long, Didn’t Read”. Unless you are interested in the technology of websites, and how this website in particular was created, you will probably want to stop reading here.
Whenever you commit to a website repository, GitHub Pages will run Jekyll ⧉ 🔗 to rebuild the pages in your site, from the content in your Markdown files.
The Pippim website is based on the GitHub Pages Jekyll theme called Cayman ⧉ 🔗. Initial setup was straight forward and very quick. However adding custom buttons becomes more complicated as you need to learn HTML ⧉ 🔗 and Sass/SCSS ⧉ 🔗.
Markdown
GitHub Pages and many other websites use a language called Markdown. Markdown is a lightweight and easy-to-use syntax for styling your writing. It includes conventions for:
Syntax highlighted code block
# Header 1
## Header 2
### Header 3
- Bulleted
- List
1. Numbered
2. List
**Bold** and _Italic_ and `Code` text
[Link](url) and 
For more details see GitHub Flavored Markdown ⧉ 🔗.
How the Table of Contents is Generated
All markdown headers with #, ## and ###, etc. are used to create the Table of Contents (TOC). A little bit of one-time prep work is required for TOC support. For example, the file _sass/toc.scss is setup with:
.screen-reader-only {
    position: absolute;
    left: -5000px;

    &:focus {
        left: 0;
    }
}
Another one-time setup is the file _includes/toc.md containing the markdown for how the TOC looks and functions. This file contains:
## Table of Contents
{:.no_toc}

* TOC
{:toc}
To get a Table of Contents (TOC) in any website page, insert a
liquid tag where you want the TOC to appear. For example on this
page you are reading, index.md, is the following markdown code:
... you are reading, `index.md`, is the following markdown code:

{% include toc.md %}

<a id="hdr6"></a>
<div class="hdr-bar">  <a href="#" class="hdr-btn">Top</a>  <a href="#hdr5">ToS</a>  <a href="#hdr7">Skip</a></div>
<!-- Note: hover tooltips are autogenerated in /assets/js/theCookieMachine.js > function set_hdr_tooltips () -->
The TOC command is used in real markdown below and generates the actual TOC:
Table of Contents
How the Slide Show (Carousel) is Generated
The Programs page begins with a Slide Show (Carousel).
The Javascript code, from /assets/js/search.js, is below:
/* Slide Show (Carousel) functions */

let slideIndex = 1

// Next/previous controls
function plusSlides(ndx) {
    showSlides(slideIndex += ndx)
}

// Thumbnail image controls
function currentSlide(ndx) {
    showSlides(slideIndex = ndx)
}

function showSlides(ndx) {
    let z;
    let slides = document.getElementsByClassName("mySlides")
    let dots = document.getElementsByClassName("dot")
    if (ndx > slides.length) slideIndex = 1  // n =
    if (ndx < 1) slideIndex = slides.length
    for (z = 0; z < slides.length; z++) {
        slides[z].style.display = "none"
    }
    for (z = 0; z < dots.length; z++) {
        dots[z].className = dots[z].className.replace(" active", "")
    }
    slides[slideIndex-1].style.display = "block"
    dots[slideIndex-1].className += " active"
}
The CSS code, from /assets/css/style.scss, is below:
/* MAJOR SECTION ======== Slide Show (Image Carousel)

    Credit: https://www.w3schools.com/howto/howto_js_slideshow.asp
    Added September 21, 2023 - not sure of border-box effect yet.
    Requires slide-show.html included near top of .md file
    Javascript in search.js
*/

* { box-sizing: border-box; }
/* Hide the images by default */
.mySlides {
    display: none;
}

/* Slideshow container */
.slideshow-container {
    position: relative;
    text-align: center;
    //margin: auto;
    margin-top: 2rem;
}

/* image width and height */
.imageSlide {
    @include large {
    }
    max-width: 90vw;
    max-height: 300px ! important;
    width: auto;
    height: auto;
    object-fit: scale-down;
    text-align: center;
    vertical-align: middle;
    display: table-cell;
    //text-align: center;
    //margin-left: auto;
    //margin-right: auto;
}

/* Next & previous buttons */
.prevSlide, .nextSlide {
    cursor: pointer;
    position: absolute;
    top: 50%;
    width: auto;
    margin-top: -22px;
    padding: 16px;
    color: green;  // was 'white' but not visible usually
    font-weight: bold;
    font-size: 18px;
    transition: 0.6s ease;
    user-select: none;
}

/* Position the "prev button" to the left */
.prevSlide {
    left: 0;
    border-radius: 0 3px 3px 0;  // left arrow
}

/* Position the "next button" to the right */
.nextSlide {
    right: 0;
    border-radius: 3px 0 0 3px;  // right arrow
}

/* On hover, add a black background color with a little bit see-through */
.prevSlide:hover, .nextSlide:hover {
    //background-color: rgba(0,0,0,0.8);
    background-color: var(--boldest-color);
}

/* Caption text */
.textSlide {
    color: var(--boldest-color);
    margin-top: 1rem;
    font-size: 15px;
    padding: 8px 12px;
    position: absolute;
    //bottom: 8px;  // putting under image?
    width: 100%;
    text-align: center;
}

/* Number text (1/8 etc) */
.number-text {
    color: var(--boldest-color);
    font-size: 1rem;
    padding: 8px 12px;
    position: absolute;
    top: 0;
}

/* The dots/bullets/indicators */
.dot {
    cursor: pointer;
    height: 15px;
    width: 15px;
    margin: 0 2px;
    background-color: #bbb;
    border-radius: 50%;  // circle
    display: inline-block;
    transition: background-color 0.6s ease;
}

.active, .dot:hover {
    background-color: #717171;
}

/* Fading animation - note fade-in & fade-out exist already */
.fade {
    animation-name: fade;
    animation-duration: 1.5s;
    @keyframes fade {
        from {opacity: .4}
        to {opacity: 1}
    }
}
The HTML code, from /_includes/slide-show.html, is below:
<!-- include near top of .md file
Credit: https://www.w3schools.com/howto/howto_js_slideshow.asp
pkill -9 firefox && nohup firefox &
-->
<!-- Slideshow container -->
<div class="slideshow-container">
<!-- Full-width images with number and caption text -->
<div class="mySlides fade">
<div class="number-text">1 / 8</div>
<img class="imageSlide" src="/assets/img/tim-ta/alarm-clock.jpg">
<div class="textSlide">Project timers in your browser!</div>
</div>
<div class="mySlides fade">
<div class="number-text">2 / 8</div>
<img class="imageSlide" src="/assets/img/hrb/HRB Example.gif">
<div class="textSlide">Painless Hyperlink creation</div>
</div>
<div class="mySlides fade">
<div class="number-text">3 / 8</div>
<img class="imageSlide" src="/assets/img/tcm/TCM Window Buttons.gif">
<div class="textSlide">The Cookie Machine - hidden secrets</div>
</div>
<div class="mySlides fade">
<div class="number-text">4 / 8</div>
<video
src="https://user-images.githubusercontent.com/92641463/265505993-42c038ab-26c1-48f4-8ee5-457dcfb7638e.mp4"
data-canonical-src="https://user-images.githubusercontent.com/92641463/265505993-42c038ab-26c1-48f4-8ee5-457dcfb7638e.mp4"
class="imageSlide d-block rounded-bottom-2 width-fit"
controls autoplay>
</video>
<div class="textSlide">cdd - Change Directory Power Tool</div>
</div>
<div class="mySlides fade">
<div class="number-text">5 / 8</div>
<img class="imageSlide" src="/assets/img/iothings/volume change.gif">
<div class="textSlide">Control your TVs and Backlights</div>
</div>
<div class="mySlides fade">
<div class="number-text">6 / 8</div>
<img class="imageSlide" src="/assets/img/stack/stack-to-blog progress display.gif">
<div class="textSlide">Convert Thousands of Posts to Blogs</div>
</div>
<div class="mySlides fade">
<div class="number-text">7 / 8</div>
<img class="imageSlide" src="/assets/img/mt/mt progress bars.gif">
<div class="textSlide">Multi-Timer - Run alarms consecutively</div>
</div>
<div class="mySlides fade">
<div class="number-text">8 / 8</div>
<img class="imageSlide" src="/assets/img/mserve/mserve small demo.gif">
<div class="textSlide">mserve - Music Server that rocks!</div>
</div>
<!-- Next and previous buttons -->
<a class="prevSlide" onclick="plusSlides(-1)">❮</a>
<a class="nextSlide" onclick="plusSlides(1)">❯</a>
</div>
<br>
<!-- The dots/circles -->
<div style="text-align:center">
<span class="dot" onclick="currentSlide(1)"></span>
<span class="dot" onclick="currentSlide(2)"></span>
<span class="dot" onclick="currentSlide(3)"></span>
<span class="dot" onclick="currentSlide(4)"></span>
<span class="dot" onclick="currentSlide(5)"></span>
<span class="dot" onclick="currentSlide(6)"></span>
<span class="dot" onclick="currentSlide(7)"></span>
<span class="dot" onclick="currentSlide(8)"></span>
</div>
To get the Slide Show (Carousel) in any website page, insert a
liquid tag where you want the TOC to appear. For example on this
page you are reading, index.md, is the following markdown code:
...you are reading, `index.md`, is the following markdown code:


{% include slide-show.html %}
The slide show command is used in real markdown below and generates Slide Show (Carousel):
Jekyll Themes
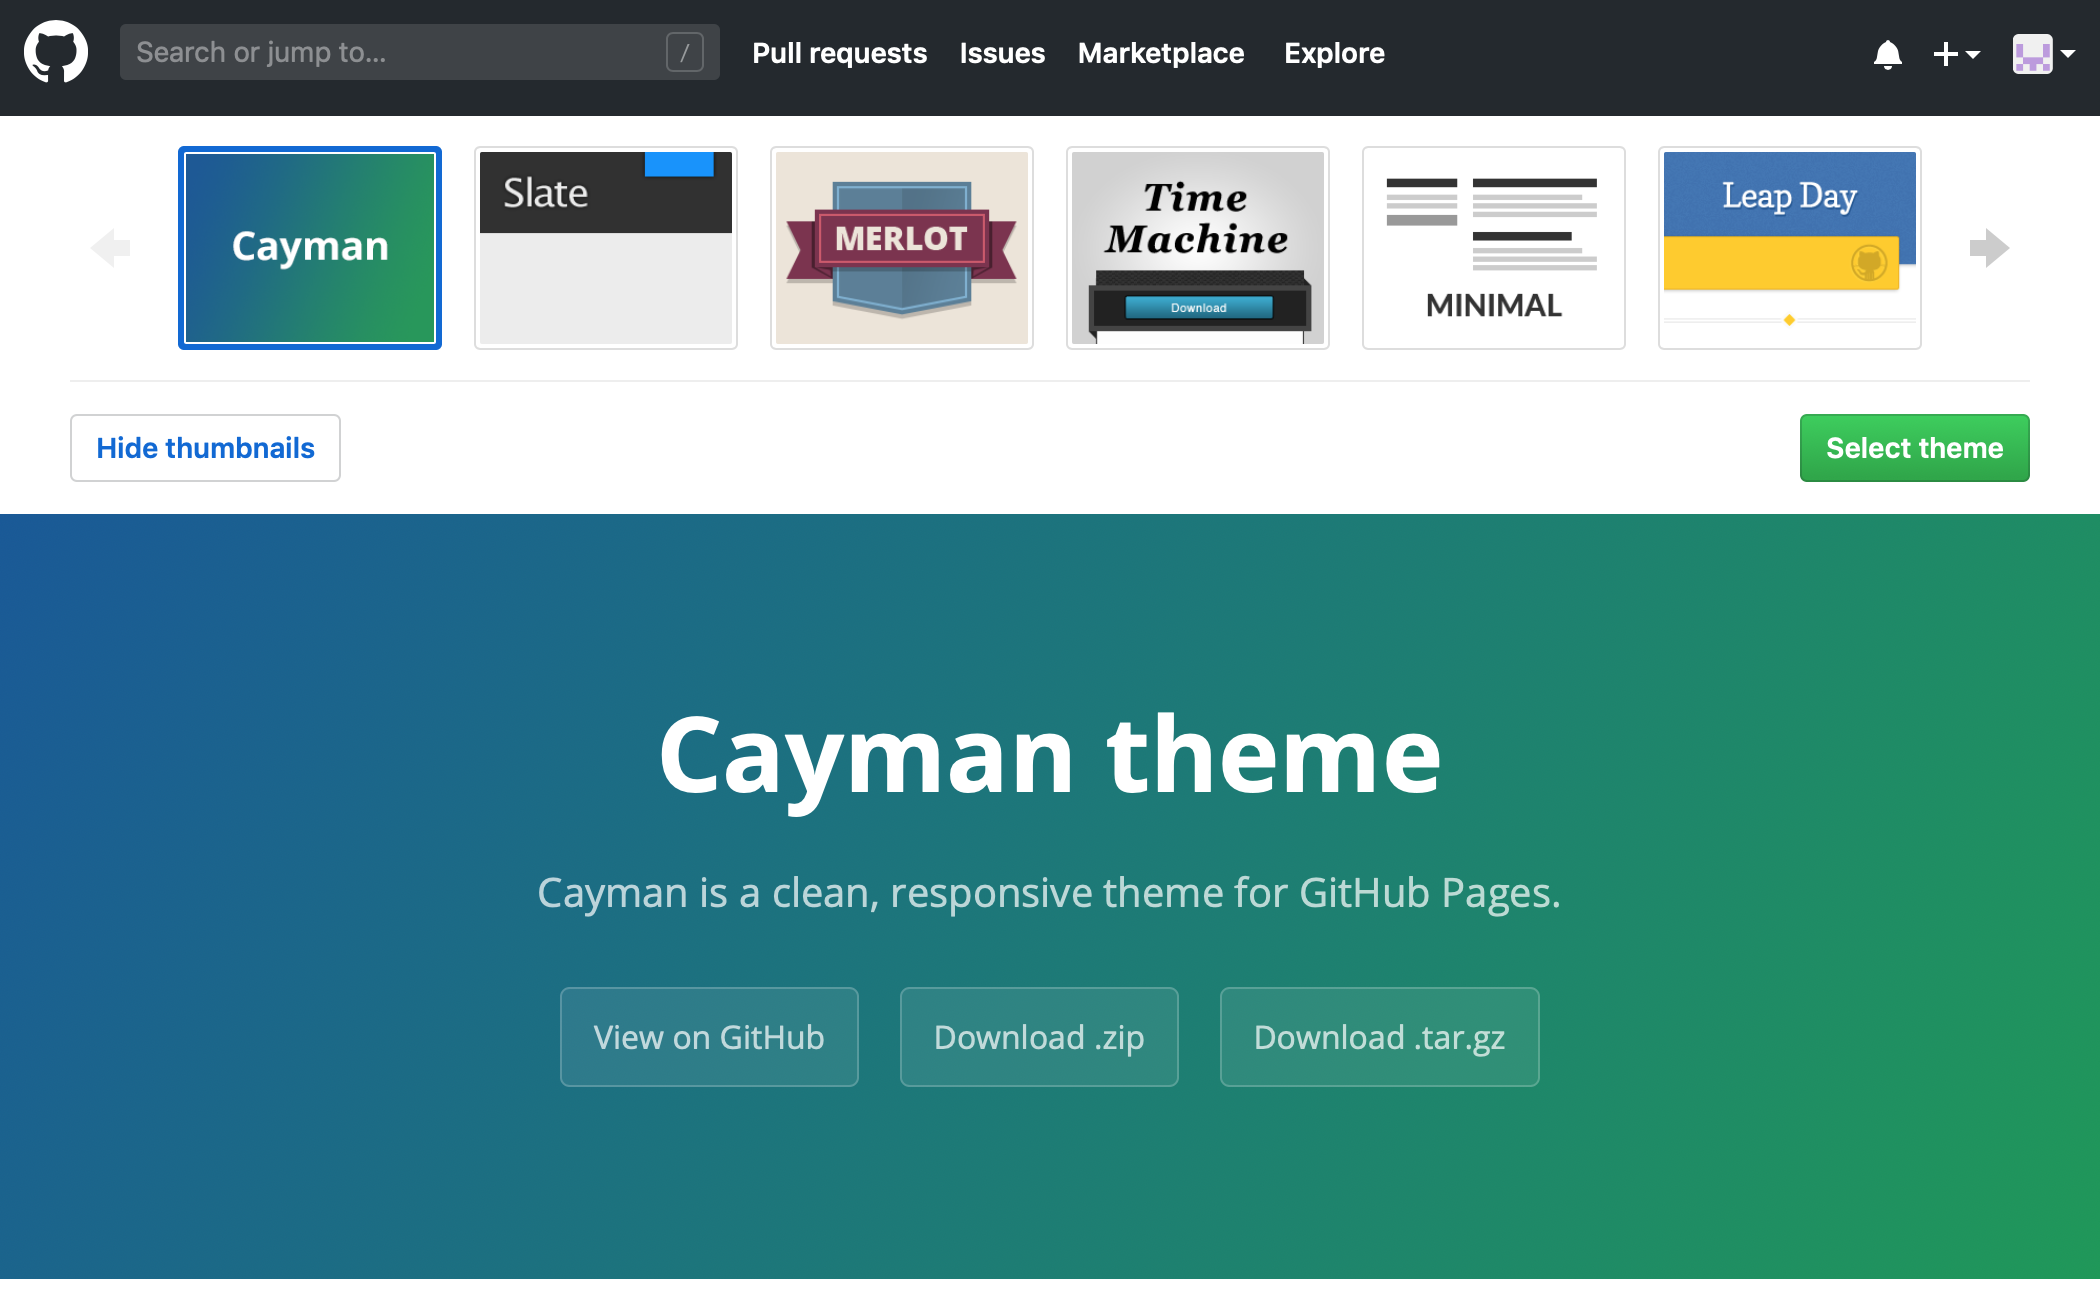
There are many GitHub Pages Jekyll Themes ⧉ 🔗 you can pick from for your website. Spend some time reviewing your options before committing to one.
Initially the Pippim website used the Cayman Theme for a day. Then the Merlot Theme was used for a week and, then it came back full circle to the Cayman Theme again.
At first the Cayman Theme didn’t display the page title properly ⧉ 🔗. Consequently, the Merlot theme was used. However, problems arose with the Merlot banner on the left not rendering properly on small screens. So it was back to Cayman and after changing the theme, the page title worked properly. New problems arose with the page buttons, Home, About, etc. With trial and error however those problems were solved too.
This is the first website Pippim created. The somewhat naive initial estimate was it would take a weekend to create. That estimate was back on October 16, 2021 and today is January 9 2022. The moral of the story is: “It may take longer than expected to set up your first website but, don’t give up.” You can do it! 😄
Your GitHub Pages site will use the layout and styles from the Jekyll
theme you have selected in your
repository settings ⧉ 🔗.
The name of this theme is saved in the Jekyll _config.yml configuration file.
GitHub Pages maintains a real-time listing of version numbers** ⧉ 🔗 for Jekyll, Sass, kramdown, Rouge, etc..
There are many open-source providers involved in the Pippim website:
- GitHub Pages - Websites for you and your projects. ⧉ 🔗
- Jekyll - Transform your plain text into static websites and blogs. ⧉ 🔗
- Liquid - Jekyll uses the Liquid templating language to process templates. ⧉ 🔗
- Sass - Sass: Syntactically Awesome Style Sheets ⧉ 🔗
- Cayman Theme - Cayman is a Jekyll theme for GitHub Pages. ⧉ 🔗
- Ruby - dynamic, open source programming language ⧉ 🔗
- Rouge - language syntax highlighting ⧉ 🔗
- kramdown - converting a superset of Markdown ⧉ 🔗
Images, Javascript, CSS and HTML
It is important to follow these instructions to setup your site:
Adding a theme to your GitHub Pages site using Jekyll ⧉ 🔗.
For example, /_layouts/default.html probably needs to be copied from the
theme website to your own website in order to make significant changes.
There are many file types in the Pippim website stored at various locations:
- A few local images are stored in
/assets/img/directory. The hundreds of images in blog posts come directly from Stack Exchange and are not stored on the/Pippim.github.io/website. - Videos (up to 10 MB) are stored as comments in the associated GitHub Repository (e.g. mserve), and then linked as an HTML image source.
- SCSS and
Sass CSS ⧉ 🔗
files are stored in the
/assets/css/directory and the/_sass/directory. The/_sass/directory can have files you can’t see inpippim.github.io, because they are really stored in the Cayman Theme for Jekyll, and automatically pulled from that site whenever the Pippim Website is rendered. - This ⌂ Home page is stored in the
/index.mdfile. - The ❓ About page is stored in
/about.md. - The ✅ Answers page is stored in
/answers.md. Individual answers are internally known as “blog posts” and are stored under the/_posts/directory with one file per answer. - The 💻 Programs page is stored in
/programs.md. - HTML encoding can be found in any file. Small bits and pieces
of HTML can even be found in markdown files which end in
.md. Pure HTML files (with no markdown or CSS) can be found
under the/_includes/directory. - Javascript files are mostly kept under the
/assets/js/directory with some stored under the/_includes/directory. - Some
.mdfiles contain embedded Javascript which in turn generates HTML and CSS dynamically.

Disabling Cookies
There is one cookie used on the Pippim website. It remembers the status of the More / Less button for blog posts. You can disable the cookie using links below.
Disable Cookies in Chrome
Clear, enable, and manage cookies in Chrome ⧉ 🔗
Disable Cookies in Firefox
Block websites from storing cookies in Firefox ⧉ 🔗
To protect your More / Less cookie setting (not that it would
do a spy any good), the SameSite policy is set to Strict so
you know no one else can read it. Also, the cookie is stored on your
local storage and it is not sent to any file server or the cloud.
You can view this in the file /assets/js/post_fm.js:
document.cookie = cname + "=" + value + ";" + expires + ";path=/" +
                  ";SameSite=Strict";
The same code can be found in /assets/js/theCookieJar.js. Here
a cookie is created to remember the Cookie Machine button’s
visibility on all pages.
Pippim Website Directory Tree
The Website Directory Tree illustrates how the Pippim website is structured for deploying with GitHub Pages. On January 11, 2026, the directory tree looked like this:
├── assets
│   ├── css
│   │   └── style.scss
│   ├── img
│   │   ├── HomA
│   │   ├── hrb
│   │   ├── icons
│   │   ├── iothings
│   │   ├── mserve
│   │   ├── mt
│   │   ├── posts
│   │   ├── stack
│   │   ├── tcm
│   │   ├── tim-ta
│   │   ├── ask_ubuntu.png
│   │   ├── ask ubuntu points 2018.png
│   │   ├── Ask Ubuntu profile.png
│   │   ├── Blog_Project-Management-101.png
│   │   ├── cookie-clicker.png
│   │   ├── earth-from-space.jpg
│   │   ├── Edm Temp 2022-01-26.png
│   │   ├── Edm temperature April 7, 2022.png
│   │   ├── Edm Temperature December 7, 2021.png
│   │   ├── github pages themes.png
│   │   ├── inspectocat.jpg
│   │   ├── jail-break-cropped.png
│   │   ├── Octocat.png
│   │   ├── octojekyll-opt.jpg
│   │   └── pngwing.com.png
│   ├── js
│   │   ├── hrb.js
│   │   ├── hyperlinkRecipe.js
│   │   ├── post_fm.js
│   │   ├── search.js
│   │   ├── setRootColors.js
│   │   ├── sound.js
│   │   ├── theCookieJar.js
│   │   ├── theCookieMachine.js
│   │   └── tim-ta.js
│   ├── json
│   │   ├── search_exclude.json
│   │   ├── search_url.json
│   │   ├── search_words.json
│   │   ├── tim-ta-work-out-1.json
│   │   └── website_tree.json
│   └── sound
│       ├── Alarm_01.mp3
│       ├── Alarm_02.mp3
│       ├── Alarm_03.mp3
│       ├── mixkit-alarm-clock-beep-988.mp3
│       ├── mixkit-alarm-digital-clock-beep-989.mp3
│       ├── mixkit-alert-alarm-1005.mp3
│       ├── mixkit-critical-alarm-1004.mp3
│       ├── mixkit-game-notification-wave-alarm-987.mp3
│       ├── mixkit-rooster-crowing-in-the-morning-2462.mp3
│       ├── mixkit-security-facility-breach-alarm-994.mp3
│       ├── mixkit-short-rooster-crowing-2470.mp3
│       ├── mixkit-slot-machine-win-alarm-1995.mp3
│       └── mixkit-street-public-alarm-997.mp3
├── _includes
│   ├── draggable-window.js
│   ├── getRootColors.js
│   ├── head-custom.html
│   ├── image.html
│   ├── jump.html
│   ├── page-header.html
│   ├── posts_by_tag.html
│   ├── posts_by_vote.html
│   ├── search.html
│   ├── slide-show.html
│   ├── tcm-common-code.js
│   ├── tcm-draggable-window.html
│   ├── test.html
│   ├── timne-ta-storage.1.0.js
│   ├── tim-ta-storage.js
│   ├── toc.md
│   ├── website_tree.html
│   └── website_tree.txt
├── _layouts
│   ├── default.html
│   ├── hrb.html
│   ├── page.html
│   ├── post.html
│   ├── program.html
│   ├── test.html
│   └── test.md
├── _posts
│   ├── 2016 [184 entries exceeds filelimit, not opening dir]
│   ├── 2017 [161 entries exceeds filelimit, not opening dir]
│   ├── 2018 [463 entries exceeds filelimit, not opening dir]
│   ├── 2019 [303 entries exceeds filelimit, not opening dir]
│   ├── 2020 [65 entries exceeds filelimit, not opening dir]
│   ├── 2021 [37 entries exceeds filelimit, not opening dir]
│   ├── 2022 [14 entries suppressed by massage_tree.sh]
│   ├── 2023 [3 entries suppressed by massage_tree.sh]
│   ├── 2024 [8 entries suppressed by massage_tree.sh]
│   ├── 2025 [5 entries suppressed by massage_tree.sh]
│   └── 2026 [1 entries suppressed by massage_tree.sh]
├── programs
│   ├── homa.md
│   ├── hyperlink.md
│   ├── iothings.md
│   ├── mserve_incl.md
│   ├── mserve.md
│   ├── mt.md
│   ├── stack.md
│   ├── tcm.md
│   └── tim-ta.md
├── _sass
│   ├── jekyll-theme-cayman.scss
│   ├── normalize.scss
│   ├── rouge-github-monokai-sublime.scss
│   ├── rouge-github-original.scss
│   ├── rouge-github.scss
│   ├── rouge-github-virtua-creative.scss
│   └── toc.scss
├── sede
│   ├── check-html-ids.py
│   ├── massage_tree.sh
│   ├── refresh.sh
│   ├── rouge_languages.txt
│   ├── StackQuery
│   ├── stack-to-blog.py
│   └── website_search.py
├── about.md
├── answers.md
├── CNAME
├── _config.yml
├── favicon.png
├── hrb.md
├── index.md
├── LICENSE
├── programs.md
└── test.md

33 directories, 132 files
Daily Backup
You can git pull all directories and files from the
Pippim website, stored on GitHub,
to your local drive. If you plan on developing locally, you probably want
to save your daily work. This script is what Pippim uses for
daily off-site backup to gmail.com:
# WEBSITE - Local copies of files on pippim.github.io (EXCLUDES /assets/css/img)
tar -rpf "$Filename" website/*.md       # about.md, answers.md, programs.md
tar -rpf "$Filename" website/*.yml      # _config.yml
tar -rpf "$Filename" website/_includes  # copyHeader.html, image.html & toc.md
tar -rpf "$Filename" website/_layouts   # default.html & post.html
tar -rpf "$Filename" website/_plugins   # insert_git_code.rb (NOT supported)
tar -rpf "$Filename" website/_sass      # jekyll-theme-cayman.scss & toc.scss
tar -rpf "$Filename" website/assets/css # style.scss file
tar -rpf "$Filename" website/assets/js  # javascript files
tar -rpf "$Filename" website/sede/*.sh  # refresh GitHub Pages each week
tar -rpf "$Filename" website/sede/*.py  # stack-to-blog.py and SEDE query below
tar -rpf "$Filename" website/sede/StackQuery
IMPORTANT NOTE:
Images are NOT included in the daily backup. This is because this is a small subset of my daily backup script that is called from
cronevery morning.The full script compresses files and emails to gmail.com. Including images would make the backup exceed Google quotas of 20 MB per backup and 15 GB for all backups.
If you want to include images in your own backup, add the following to the daily backup script:
tar -rpf "$Filename" website/assets/img # Image files
Convert Stack Exchange to GitHub Pages
Converting thousands of Stack Exchange Q&A in MarkDown format isn’t as easy
as simply copying them over to GitHub Pages. The python program
stack-to-blog.py was used to convert Stack Exchange posts to
GitHub Pages Posts.
The complete stack-to-blog.py program can be accessed on the
Pippim Website repo ⧉ 🔗.
The FULL DOCUMENTATION to Convert Stack Exchange Posts to Your Own Website ⧉
for stack-to-blog.py used to create
the posts on this Pippim website will help you create your
own website.

